Greek Power Bowl Recipe
This recipe was discovered from one of my very educated, well informed, and health enthusiast friend’s Instagram stories. So shout out to Kristen Bolte!! She completely influenced my 2019-2020 eating habits as I meal prepped this bowl for 5 days a week for like…. literally half the year. No exaggeration. My close friends know how much I hate to cook, and in fact will sometimes replace it with whatever crackers and crumbs I have on hand in order to avoid using a pot or pan. But this recipe looked just simple enough for me to handle that I decided to try it. And it was. life. changing. Of course I made a few adaptations to fit to my liking. Her original recipe called for grilled onions and bell peppers (if I am remembering correctly?). Which I decided to exclude for 2 reasons; first, because of the grilling part, and second I don’t enjoy these particular vegetables myself! So after eliminating this part of the recipe it suddenly became a one pot meal! The best thing about this bowl is that it is so enjoyable cold and can be so easily meal prepped! It was my go to after work as usually I got off late and didn’t have time to prepare anything, and I was usually so exhausted I couldn’t bare one more second on my feet. So all I had to do was grab a pre-prepped Tupperware meal from the fridge and a fork and I was eating within a minute.
Quinoa- bring water to a boil and add desired amount of quinoa. I usually used about half a box for each meal week. Once water is boiling, add quinoa, reduce heat, add a lid, and let sit for about 15-20 minutes. Be sure to follow the directions and recommended ratios on whatever box brand you are using. If you use too much water, straining quinoa is a nightmare, and if you use too little water, suddenly you’re melting quinoa to the bottom of the pot and its a nightmare to clean lol. After the quinoa is done, divide into approximately 5 airtight Tupperware containers. Optional: garlic powder stirred in for extra punch, but I found I didn’t notice much difference so I quit adding.
Toppings
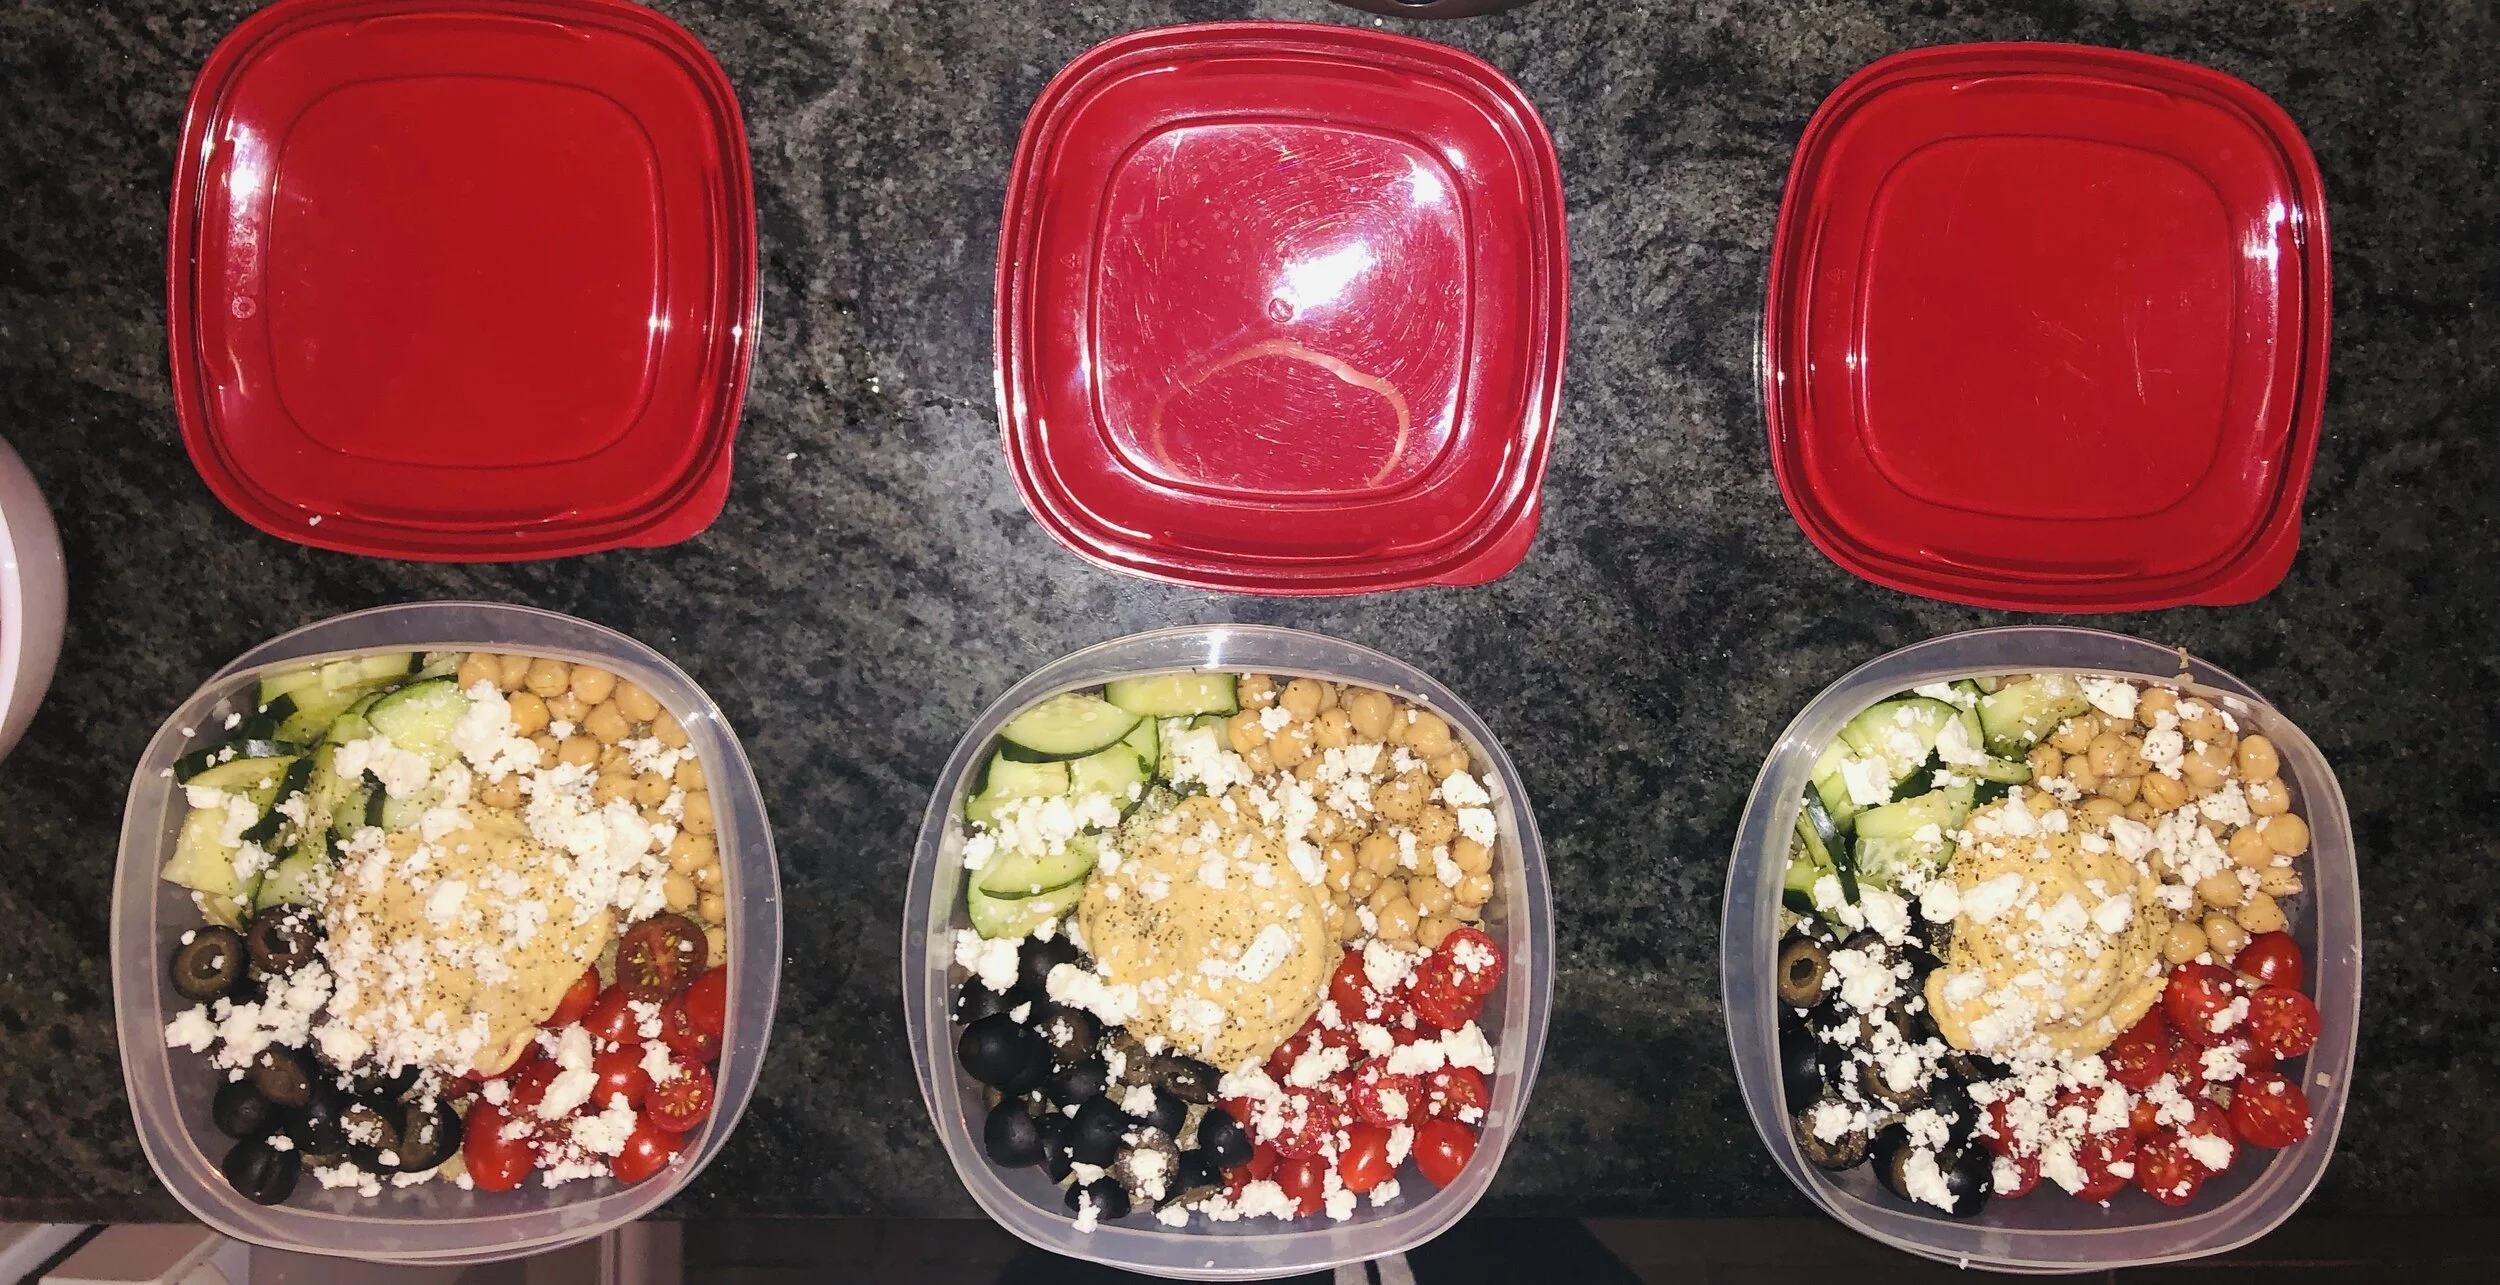
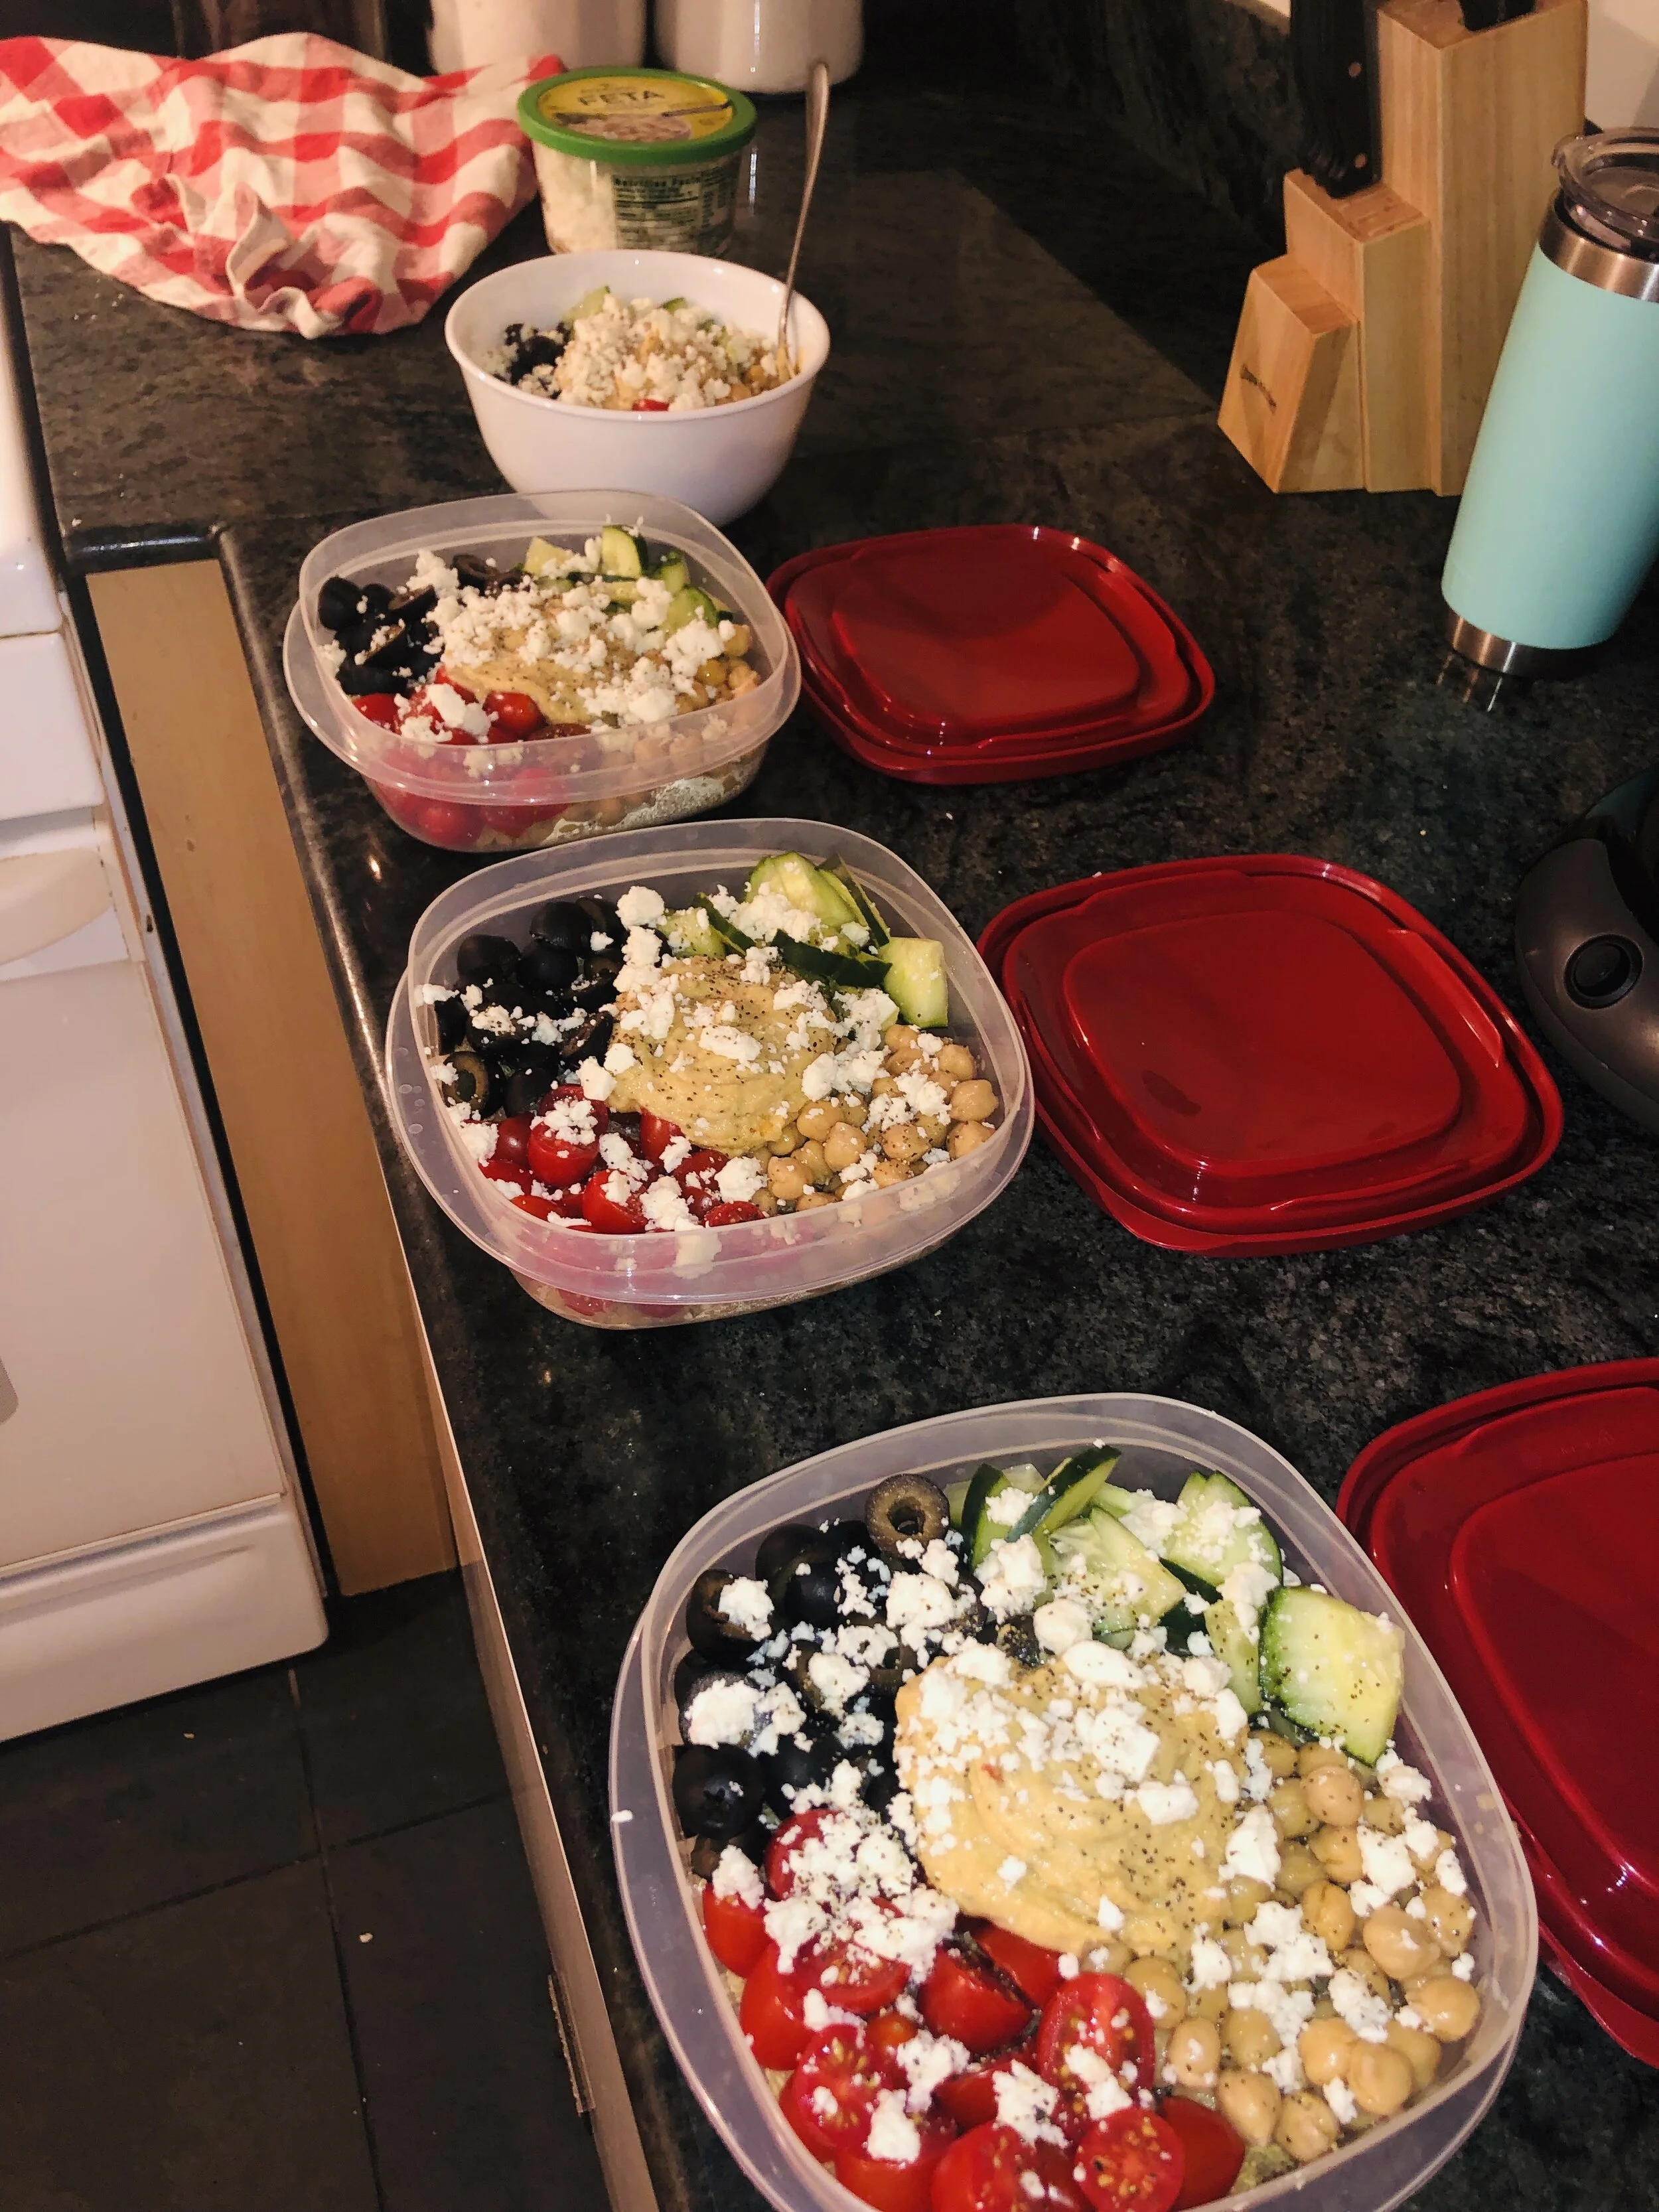
For the toppings I divided the container into quarters and filled up each corner with a different topping:
Olives- while the quinoa is sitting, cut up your toppings. For olives I alternate between black and Kalamata depending on your preference. I prefer the Kalamata as the flavor is much stronger, but the black I got in a can for much cheaper. Cutting the olives is not necessary, but cutting them stretched the amount per taste a little farther.
Cucumbers- for cucumbers I cut into thick, round slices, and then cut each slice into quarters. This makes them perfectly bite sized and again stretches the amount. For calorie counting, you can divide the ratio of toppings and go heavier with cucumber and tomatoes and lighter with olives and chickpeas.
Cherry Tomatoes- again, I like to cut the tomatoes in half too. it’s so simple and you already have a knife and cutting board out for the cucumber anyways. You’re also probably still waiting for your quinoa so why not? However if you are using the cherry tomatoes, they’re bite size as is, but I find you can pack more tomatoes in when cut in half.
Chickpeas- aka garbanzo beans (lots of people don’t know these are the same thing actually lol). I usually stretch a can for about 5-6 meals. Again, I fill up about a quarter of each meal container.
Hummus- this I usually add right on top in the center, or you can choose to add fresh everyday, depending on where you are eating. I generally add about 1-2 tablespoons. Sabra classic so far has been my favorite brand.
Feta Cheese- finally just a sprinkle of Feta cheese on top and your recipe is complete!
So just to emphasize the meal prep, add your bed of quinoa to the bottom of your container. Fill each “corner” of your container with a different ingredient. I do it this way in order to keep track of the ratio of each topping. Add the dollop of Hummus on top in the center, and sprinkle with feta. Once you are ready to eat, stir all ingredients in the container, or pour into bowl.
Now there are SO many different variations of “Greek Power Bowls” out there, and you can switch up the toppings: add spring greens, roast your chickpeas, use garlic hummus, add grilled veggies… Depending on how busy/tired/how much you hate cooking, the above was the easiest possible, with incredible taste. The ingredients remained fresh or days, as lettuce and spinach can get old quickly, but are great additions if you are preparing at home!
Greek Power Bowl:
Quinoa
Olives
Cucumbers
Cherry Tomatoes
Chickpeas
Hummus
Feta Cheese
optional seasoning: salt, pepper, garlic powder

